
High-value construction and industrial equipment goes missing every day. Misplaced assets stall projects and drain revenue, and theft hits even harder. The National Insurance Crime Bureau reports that more than 11,000 pieces of heavy equipment are reported stolen in a single year, and most are never recovered. Poor visibility makes it worse. McKinsey found that large construction projects run 20 percent behind schedule and up to 80 percent over budget. You cannot manage equipment you cannot locate.
Installing a GPS tracker the right way is your first move toward total asset control, security, and improved utilization. This guide walks you through every tracker type so you get accurate, reliable data from day one. Done well, an install gives you more than dots on a map. It gives you the intelligence to run your operation.
| Provider | Primary Focus | Hardware Type | Key Feature | Best For |
|---|---|---|---|---|
| GPX | AI Asset Intelligence | Multi-Sensor (GPS, BLE, Cellular, Satellite) | Scout AI Predictive Analytics | Enterprise-wide mixed-asset visibility (equipment, tools, inventory) |
| Samsara | Fleet Telematics | OBD-II & Hardwired | AI Dash Cams & Driver Workflows | Vehicle-centric fleets requiring driver and vehicle performance data |
| Motive | Fleet Management | OBD-II & Hardwired | ELD Compliance & Spend Management | Commercial trucking and logistics fleets focused on compliance |
| Verizon Connect | Fleet & Mobile Workforce | OBD-II & Hardwired | Large-scale fleet dispatching tools | Enterprise fleets and field service management operations |
Why Proper GPS Tracker Installation Matters
How you install a GPS tracker on heavy equipment decides its performance, reliability, and security. A rushed install creates problems that defeat the whole investment. Mount a device where metal blocks its view of the sky, and it will struggle to lock a satellite signal. Wire it to power carelessly, and you get intermittent tracking or a drained battery and downtime.
A clean install delivers strong signal, steady power, and protection from weather and tampering. On a construction equipment GPS tracker, that means a spot that survives constant vibration, dust, and moisture while staying hidden from thieves. Your tracker becomes a quiet, reliable guard, feeding you the asset-tracking data you need for security, utilization reports, and predictive analysis.
Pre-Installation Checklist
A few steps before you pick up a tool will save you headaches later. Planning your approach prevents common mistakes and gets the most out of your tracker.
Choose the Right Tracker Type
Start by matching the tracker to your asset and use case. Three main categories cover most needs:
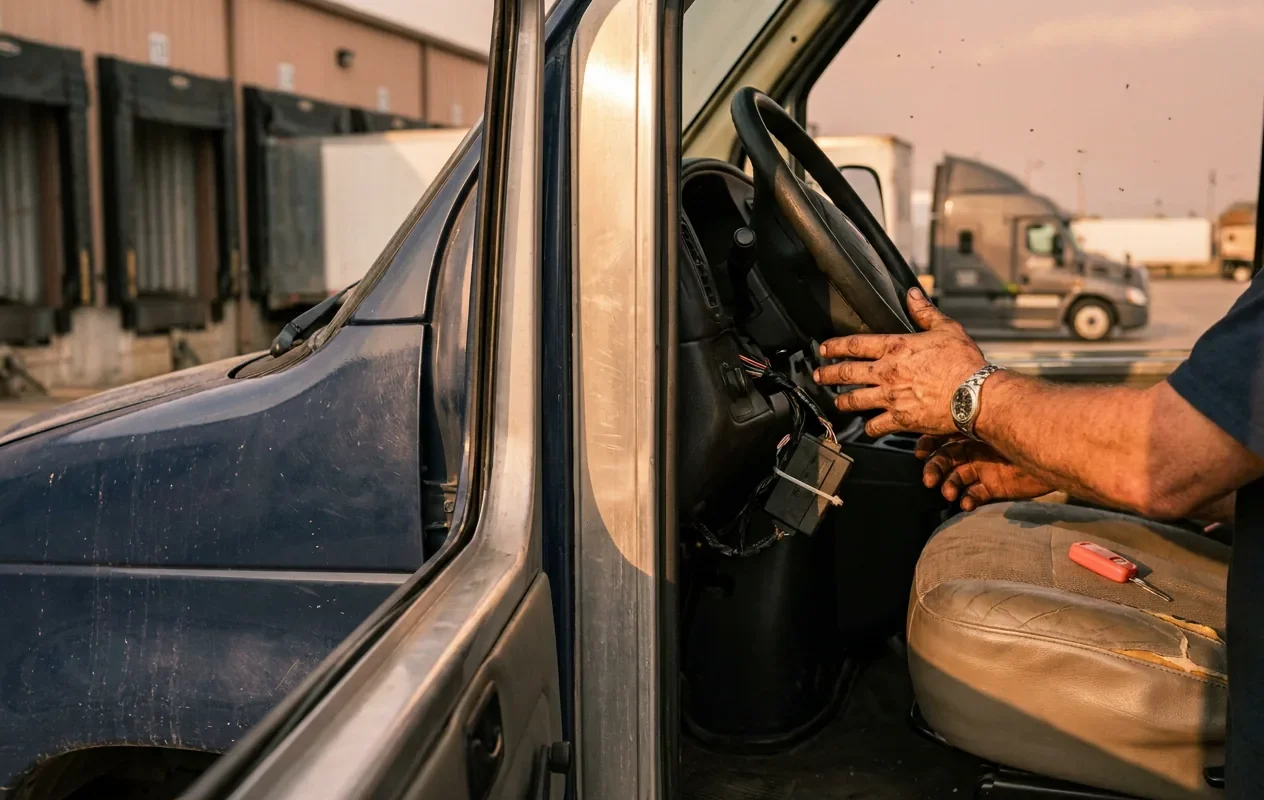
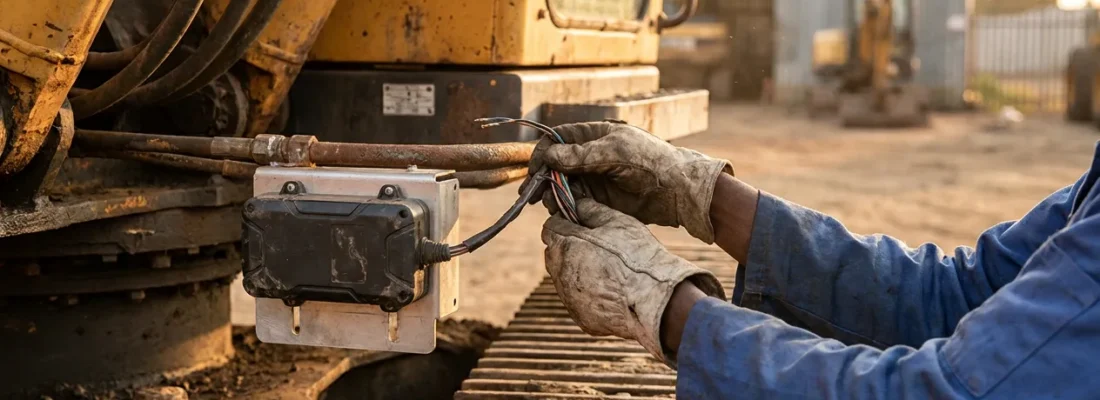
- Hardwired trackers: These connect straight to the equipment’s electrical system for constant power. They fit powered assets like excavators, dozers, and fleet vehicles that need a permanent, maintenance-free setup. Most also report ignition status and engine hours.
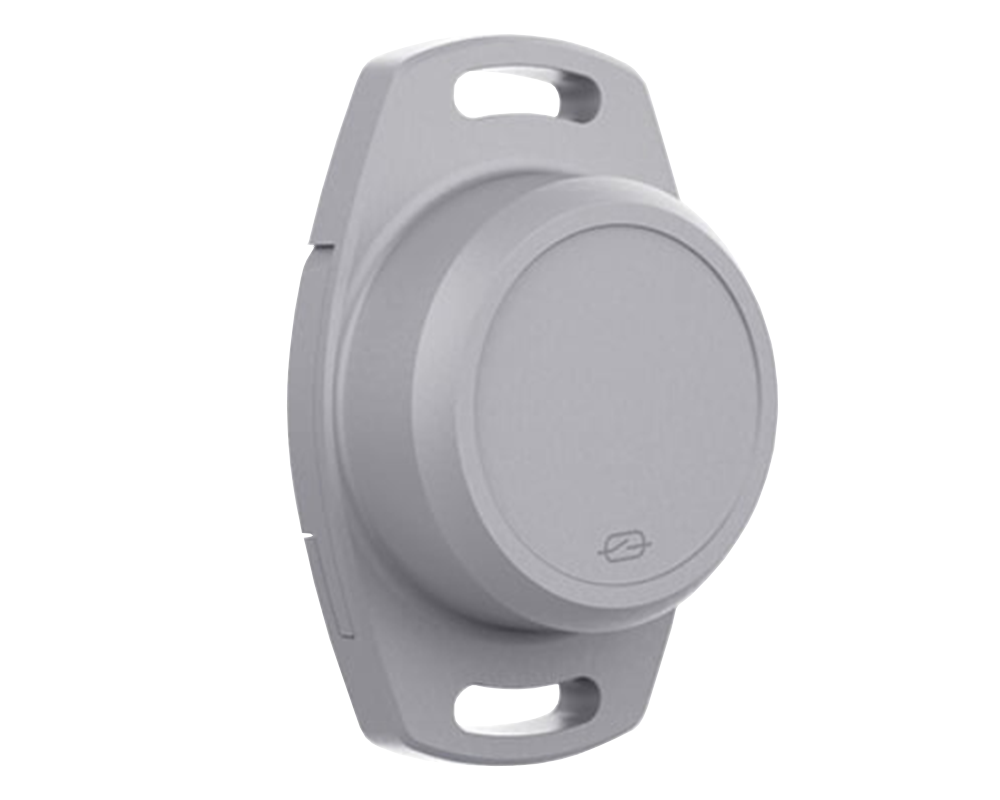
- Battery-powered trackers: Self-contained and portable, these run on long-life internal batteries. They suit assets with no power of their own, such as trailers, containers, and smaller tools. You place the device, secure it, and you’re done. The trade-off is recharging or replacing the battery down the road.
- Solar-powered trackers: A small solar panel keeps an internal battery topped up. You get the portability of a battery unit with the lifespan of a hardwired one, which makes solar a strong GPS tracker for heavy equipment that lives outdoors.
Platforms like GPX add multi-sensor hardware, including disposable Smart Labels that use BLE and cellular for low-cost, peel-and-stick tracking where a traditional install makes no sense.
Select the Optimal Mounting Location
Placement makes or breaks your results. Weigh these factors:
- Signal access: The tracker needs a fairly clear view of the sky to reach GPS satellites. Keep it out of deep metal enclosures. For covert installs, spots under plastic or fiberglass, like dashboards or bumpers, work well.
- Concealment: Hide the tracker so thieves cannot spot and pull it. Good options on heavy equipment include high on the chassis frame, inside the engine bay away from extreme heat, or within the cab structure.
- Power source (hardwired): For a hardwired unit, pick a location with easy access to the battery, an ignition wire, and a solid ground point.
- Environmental protection: Shield the spot from direct impact, heavy moisture, and extreme heat.
Gather Your Tools and Materials
For a hardwired install, you will usually need:
- Wire strippers and crimpers
- Digital multimeter
- Screwdriver and wrench set
- Zip ties and electrical tape
- Drill (if mounting requires it)
- Safety glasses
For battery-powered units, grab strong adhesive, screws, or a magnetic case depending on the model and surface.
Step-by-Step Guide: How to Install a Hardwired GPS Tracker
Installing a hardwired heavy equipment GPS tracker takes basic knowledge of vehicle electrical systems. If that is outside your comfort zone, hire a professional installer.
-
Step 1: Safety First, Disconnect Power
Safety comes before anything else. Find the equipment’s battery and disconnect the negative terminal. This prevents accidental short circuits that fry the tracker or the equipment’s electronics.
-
Step 2: Identify the Correct Wires
With a digital multimeter, locate three key electrical lines. A typical hardwired tracker needs:
- Constant power (+): A wire with power even when the equipment is off. Your multimeter should read 12V or 24V continuously.
- Ignition/switched power: A wire with power only when the ignition is on. This lets the tracker report engine on/off events and manage its power draw.
- Ground (-): A connection to the metal chassis. A reliable ground is essential for the device to work.
-
Step 3: Connect the Tracker Wiring
Connect the tracker’s leads to the wires you identified. Use secure methods like T-taps, solder, or high-quality crimp connectors. Never twist wires together and wrap them in tape; vibration will break those joints. Attach the ground wire to a clean, paint-free bolt on the chassis.
-
Step 4: Mount the GPS Unit Securely
Return to the mounting location you chose during planning. Fasten the unit with screws, zip ties, or industrial-grade adhesive. Mount it with the correct side up, per the manual, for the best satellite reception. Bundle and secure excess wiring with zip ties so nothing snags or tears.
-
Step 5: Reconnect Power and Test the Connection
Reconnect the negative battery terminal. The tracker powers on, and its LEDs blink as it acquires power, cellular, and GPS signals. Log in to your tracking platform, such as the GPX Intelligence platform, to confirm the device is online and reporting an accurate location. Then cycle the ignition on and off to test event reporting.
Installing a Battery-Powered or Solar GPS Tracker
Installing battery-powered or solar equipment tracking devices is far simpler, and it answers the question of how to track equipment without any wiring.
- Activate the device: Follow the manufacturer’s steps to activate the tracker and link it to your account on the platform.
- Choose a location: Pick a good spot on the asset. Magnetic models grab any flat metal surface. Other models mount with screws or strong adhesive. Aim for a clear view of the sky when you can.
- Mount and secure: Press the tracker firmly onto the surface. In high-vibration or exposed areas, add zip ties or a second fastener for insurance.
That’s it. Your battery-powered tracker is live and reporting. From here, watch its battery level in the software and recharge or replace it when needed.
Common Installation Challenges & Solutions
Even solid planning hits snags. Here are the problems you will see most and how to fix them:
- Poor GPS signal: If the location looks off, obstruction is the usual culprit. Move the unit somewhere with a clearer view of the sky, like the top of the cab instead of inside it, or under a plastic panel instead of metal.
- Power drain on equipment: A hardwired tracker draws almost nothing in sleep mode. If it runs down the battery, suspect a faulty unit or a wrong ignition-wire connection that keeps the device in high-power mode. Recheck your wiring with a multimeter.
- Device tampering: A covert install is your best defense. Hide the device well and thieves struggle to find and remove it. Most platforms also send tamper alerts when a device loses power.
- Environmental damage: Match the tracker’s IP (Ingress Protection) rating to its environment. IP67 or higher protects against dust and water, which any GPS tracker for construction equipment needs.
- Scaling across a large fleet: Installing hundreds of trackers by hand invites inconsistency and blind spots. Standardize on a documented mount-and-wire procedure for each asset class, and lean on peel-and-stick Smart Labels for non-powered assets to cut deployment labor across a mixed fleet.
Matching the Tracker to Your Asset and Goal
The best method depends on your assets and goals. There is no single right answer. Match the technology to the business need. For a large excavator that runs your day, a hardwired tracker with ignition sensing gives you the strongest security and the richest data. For a pallet of valuable materials in transit, a disposable battery-powered tracker like a GPX Smart Label delivers visibility without the install work.
Map your portfolio. Put hardwired solutions on high-value, powered assets. Put battery or solar trackers on non-powered, mobile ones. Weigh total cost of ownership too: hardware is one line item, but subscription plans, install labor, and integration with your ERP or asset-management software shape the real number. Mix the technologies and you get visibility across the whole operation. That data moves you from reacting to theft and loss to actively managing assets, sharpening utilization, and hitting project targets.
GPX delivers a full range of AI-powered asset tracking solutions, from hardwired units to peel-and-stick labels, all in one platform. Explore our industry solutions or request a quote to see how we turn asset data into operational intelligence.
Frequently Asked Questions (FAQs)
Where is the best place to hide a GPS tracker on heavy equipment?
The best spots are hard to see and reach but still catch a GPS signal. Common covert locations include inside a trailer’s A-frame, high on the main chassis frame, within a plastic light housing, or under the dashboard or seats in the operator’s cab.
How long does a battery-powered GPS tracker last?
Battery life depends on the device, battery size, and reporting frequency. A tracker reporting once a day can run for years. One reporting every minute lasts weeks or months. GPX devices let you configure reporting intervals to balance fresh data against battery life.
Can GPS trackers be jammed or blocked?
Yes. Some thieves use GPS jammers that flood the area with radio noise to block satellite signals. Multi-sensor platforms like GPX answer this. When the GPS signal drops, the device still reports through cellular tower triangulation (Cell-ID) or its BLE signal, giving you redundancy against jamming.